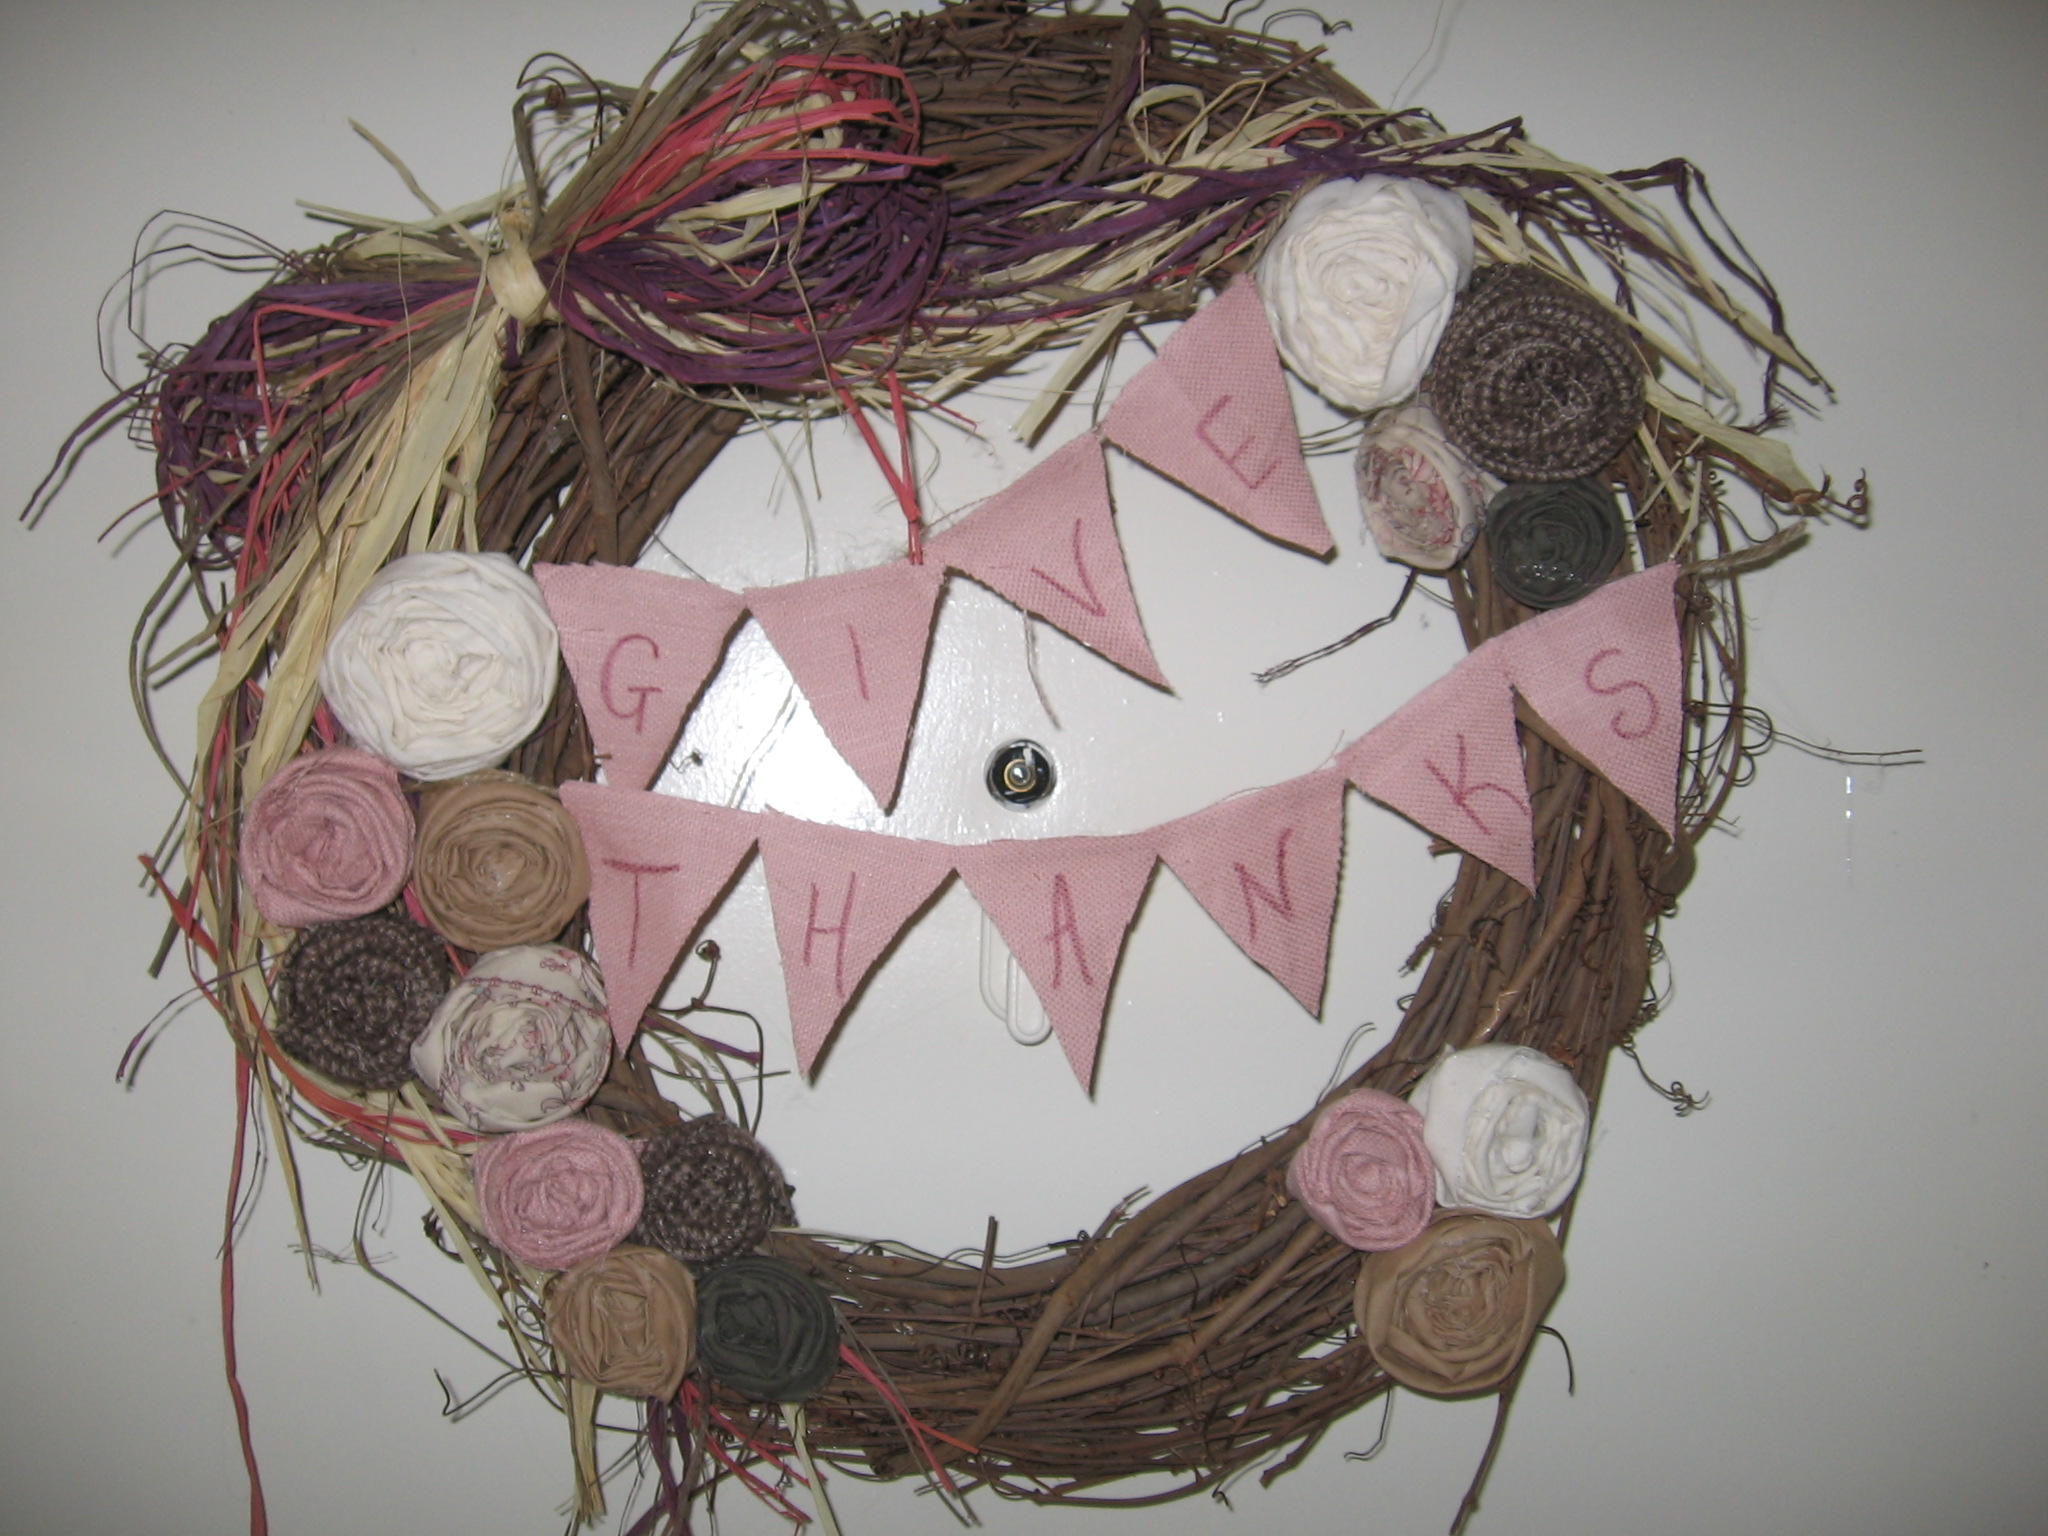
Fall comes around, and I once again find myself in the mood to make (yet another) wreath. There’s something about the approach of the holiday season that needs to be met with festivity right at the entrance of my home. I have been very “fabricky” in my crafts the last few months, so I decided to use some of those scraps and make fabric flowers. I do love the beautiful oranges, yellows, and reds of the autumnal season, but this time I went with deep maroons and purples. I wanted the wreath to flow with the greens and pinks of my living room. I used a giant raffia bow I made to add a fallish look.
You can find a million DIY on the internet for making these flowers, but I thought I would include the instructions just for the fun of it! The best part about this wreath? Only took me half of a morning nap to complete.
You will need:
Wreath Fabric Scraps (I used a combination of cotton, canvas, and wool) Felt circles—they can be any color as they won’t be seen, cut smaller than the flowers you’ll be making. Confession? Mine weren’t really circles. Just free-hand shapes. Hot Glue Gun Miscellaneous embellishments—I used a raffia bow and a homemade banner (pictured at end of post)
- Plug in your hot glue gun so it can begin heating up.
- Cut scraps of fabric about 1 ½ inches wide by however long you want (at least 18 inches). Confession? I just made a nitch at the top of the fabric and tore the strips. They won’t stay perfect, but it adds to the scrappiness of the flower. You can see I thought I would only want a neutral wreath (I love beiges way too much), but I was having so much fun that I ran to the closet for more fabrics!

- Make a knot in one end of the fabric piece.

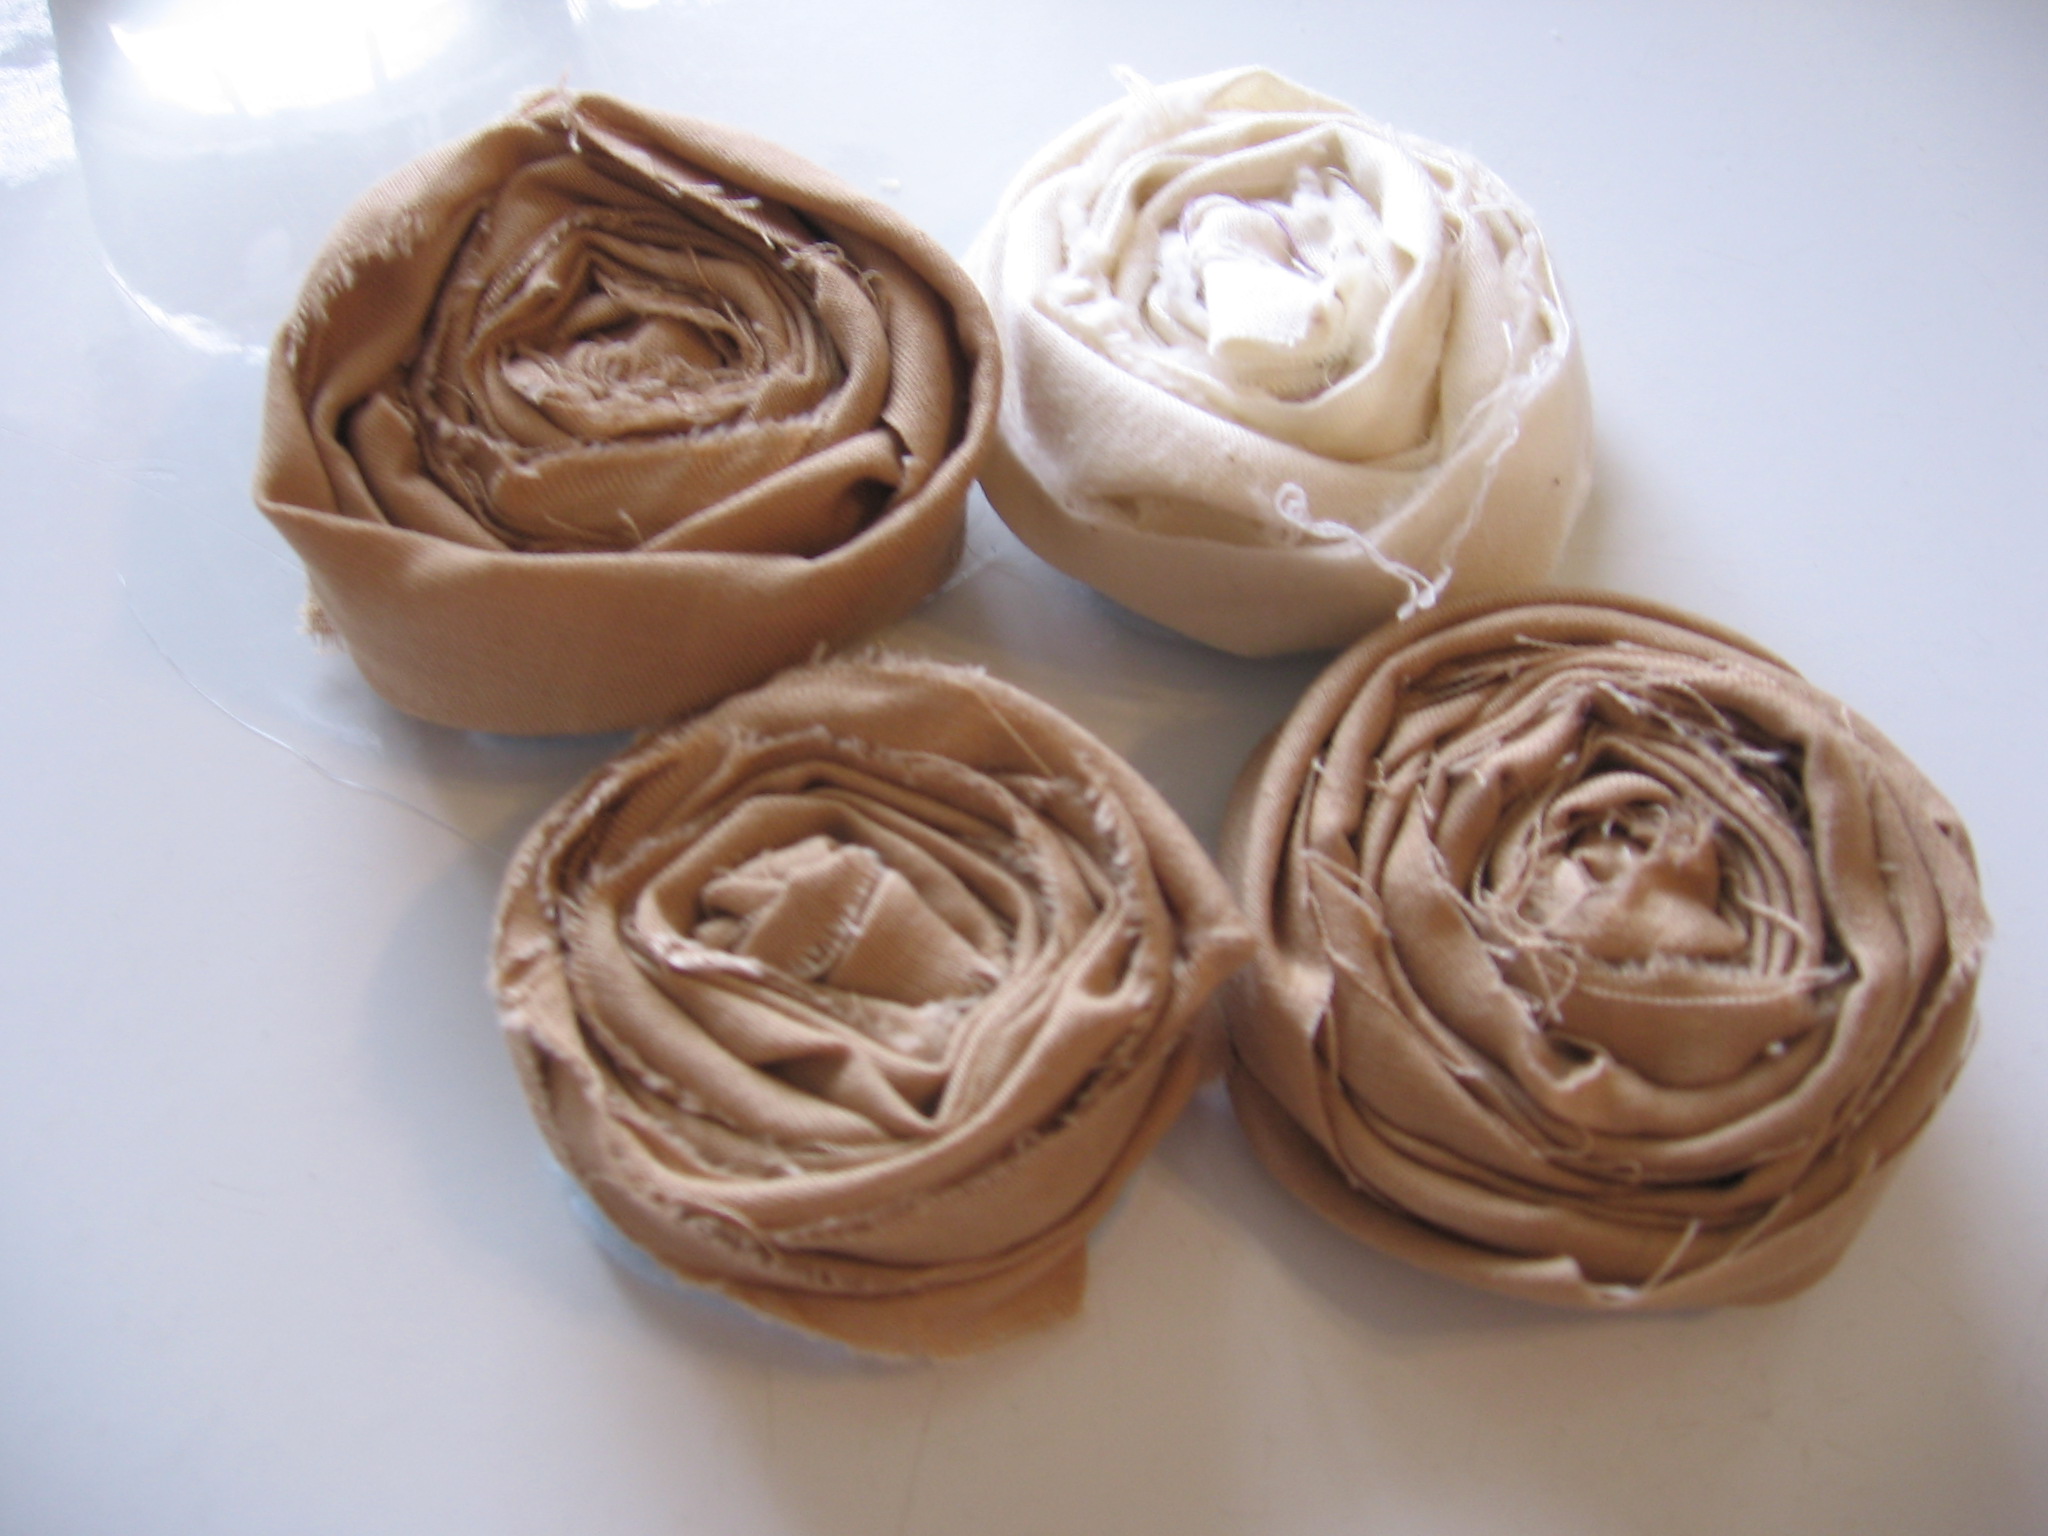
- Holding the knot in your left hand, begin spinning the rest of the piece around the knot, fairly tightly, keeping the knot centered. You will begin to see the flower take shape. If you want, give the fabric piece a twist now and then, to add extra dimension. When you get to the end of the piece, tuck it underneath.

- Grab a felt circle, put some glue on it, and place the bottom of the flower on top, and press firmly.

- That’s it! Truly. Assemble all your flowers, and begin arranging them and gluing them onto your wreath.
- I had so much fun with this, and when I was finished, I loved the look of it on my door!
 I still didn’t feel like it had a super autumnal look, so I cut some freehand pendants out of canvas, wrote letters on them with a fabric marker, and glued it to some twine. Now we have a beautiful reminder of this holiday season, every time we come home!


