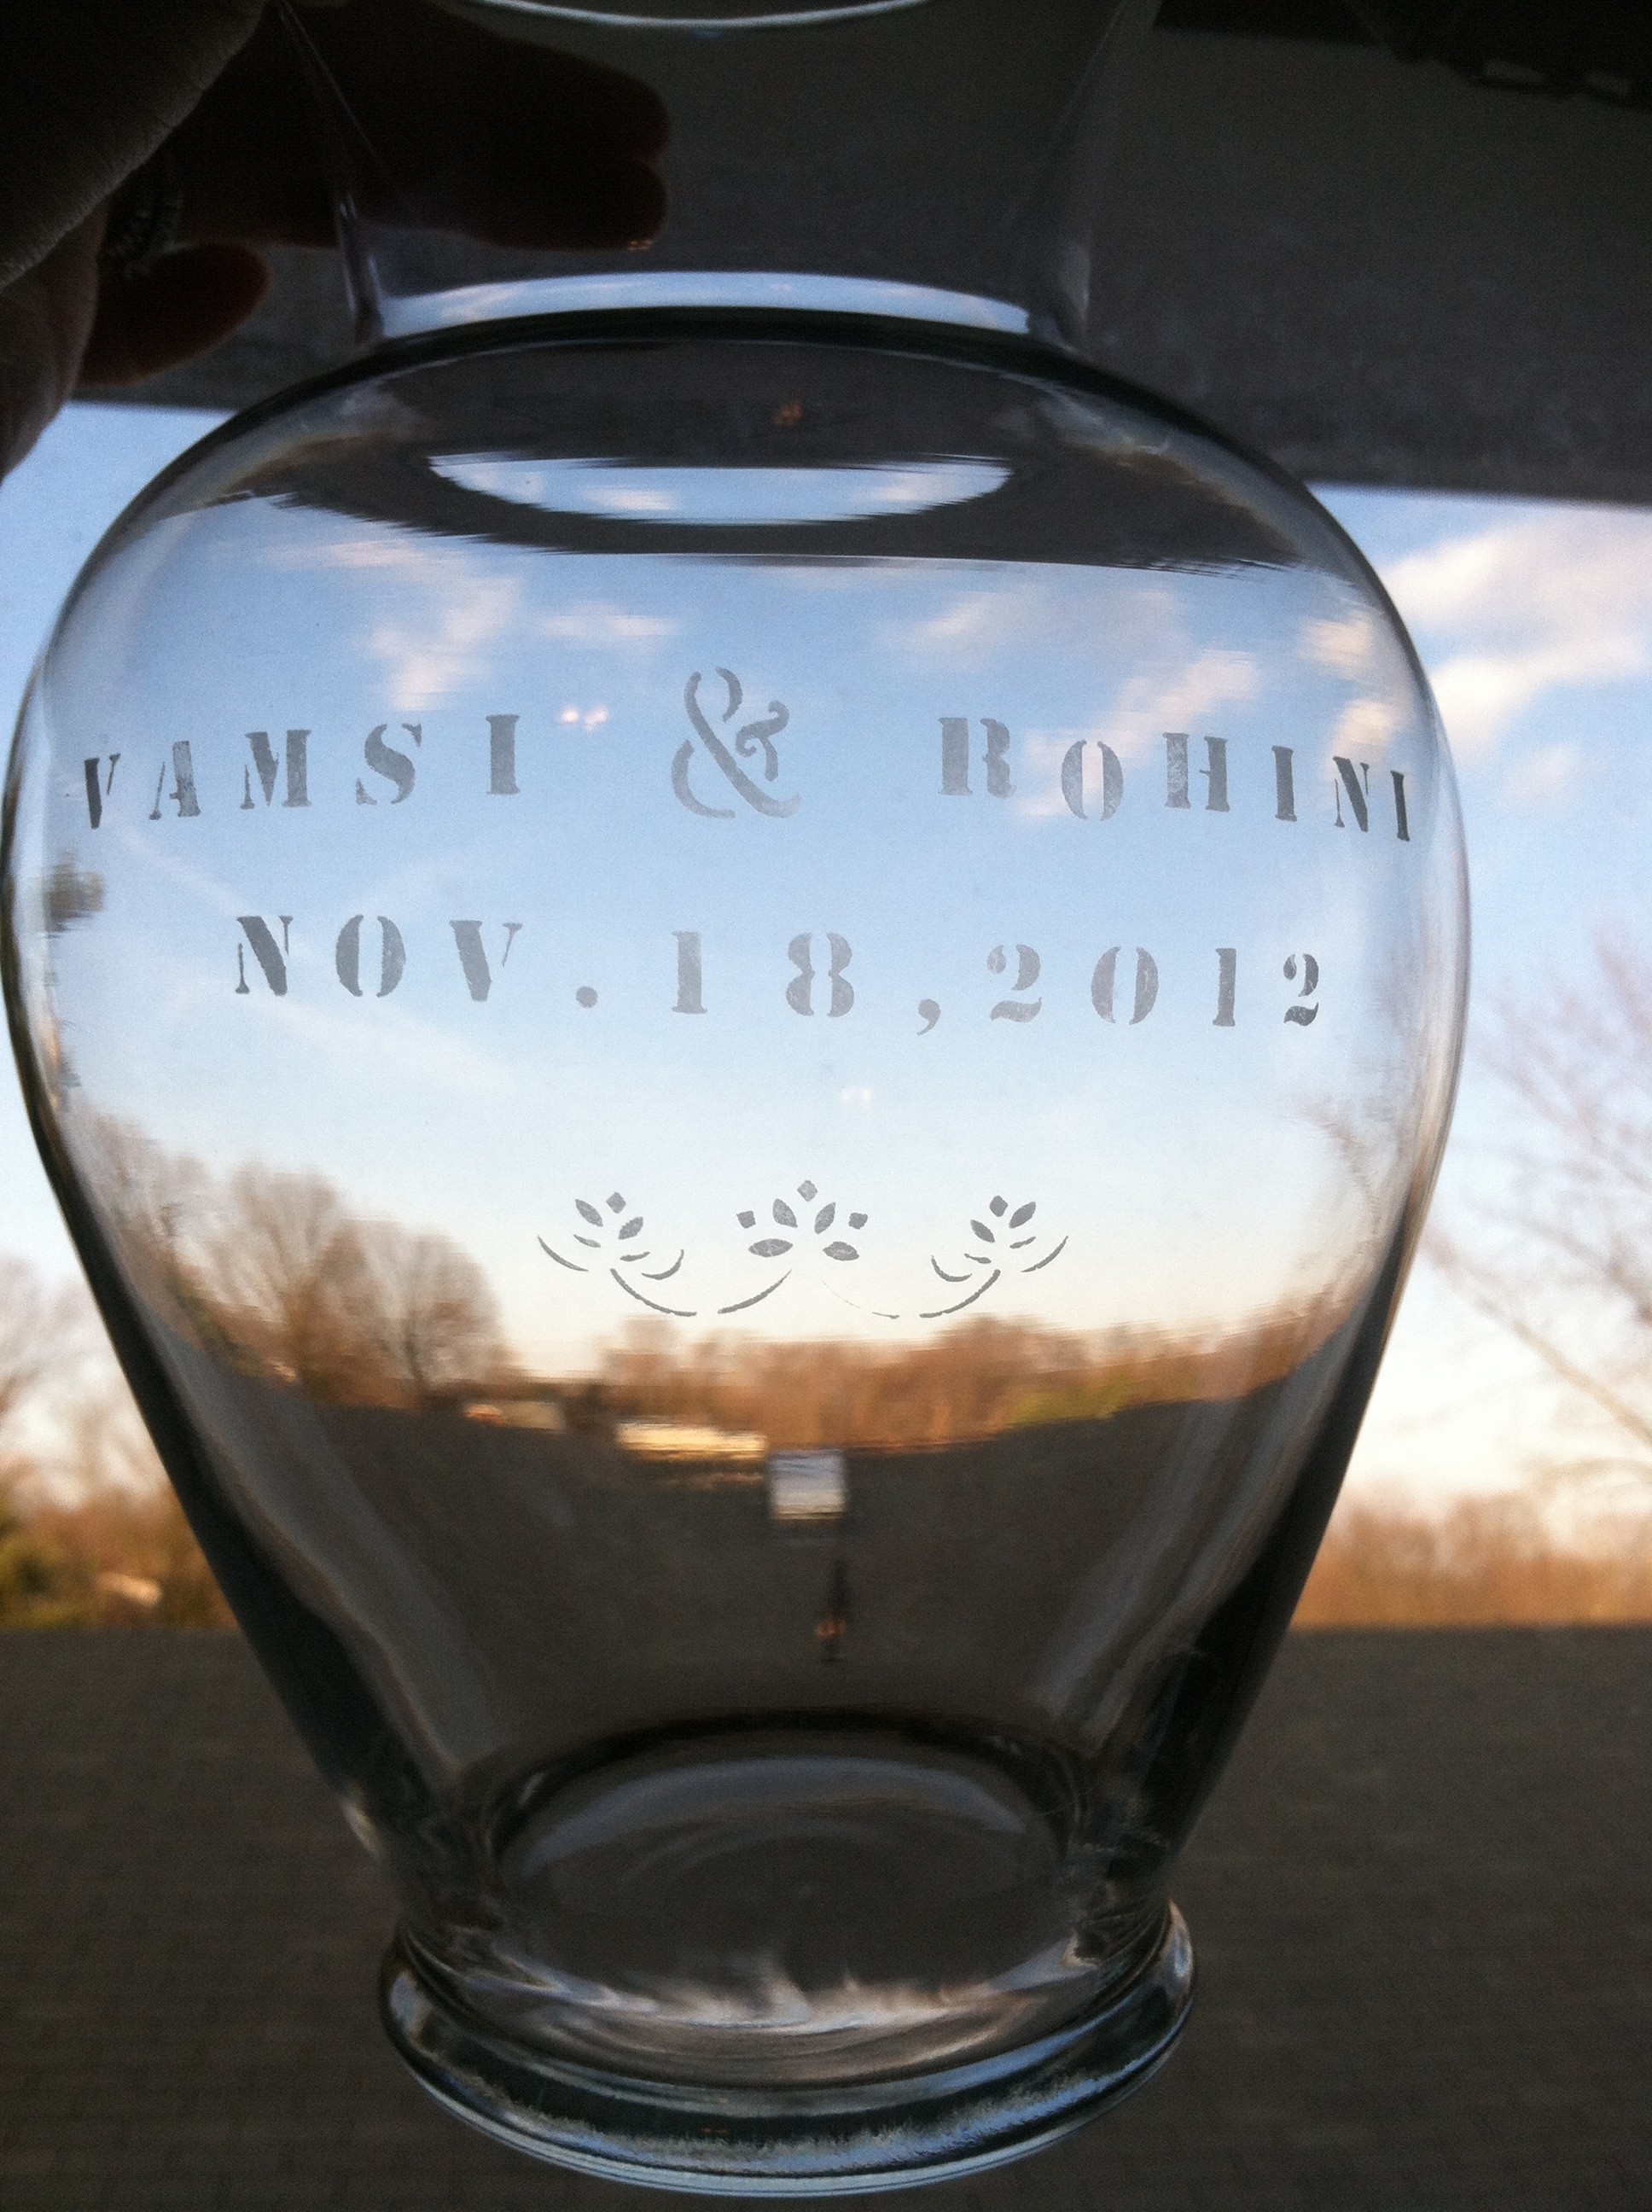
Our first Christmas married, I spent hours perusing websites for cheap crafts I could make for others that were beautiful, meaningful, practical, and, well, looked like something you’d buy in a store. I stumbled across Glass Etching on Martha Stewart’s website, and it has been my go-to for lots of neat (and sometimes last minute) gifts. That Christmas I etched everybody’s name on a glass mug (that I found for $2.50 at Wal-Mart). I promise it is not near as intimidating as it sounds and it takes a whopping 15 minutes. I recently pulled my supplies out to etch a vase for some newlyweds we’re dining with. We had bought them some fresh tulips, but wanted to make it the gift more personal. I etched their names and wedding date on the vase—now it is something they can use over and over again.
You will need to make a trip to your local craft store for the etching cream and stencils. It’s a bit of an investment up front ($10-20), but it will last you through many projects! I bought the smallest bottle of etching cream and reusable stencils, and I still have ¾ a bottle left.
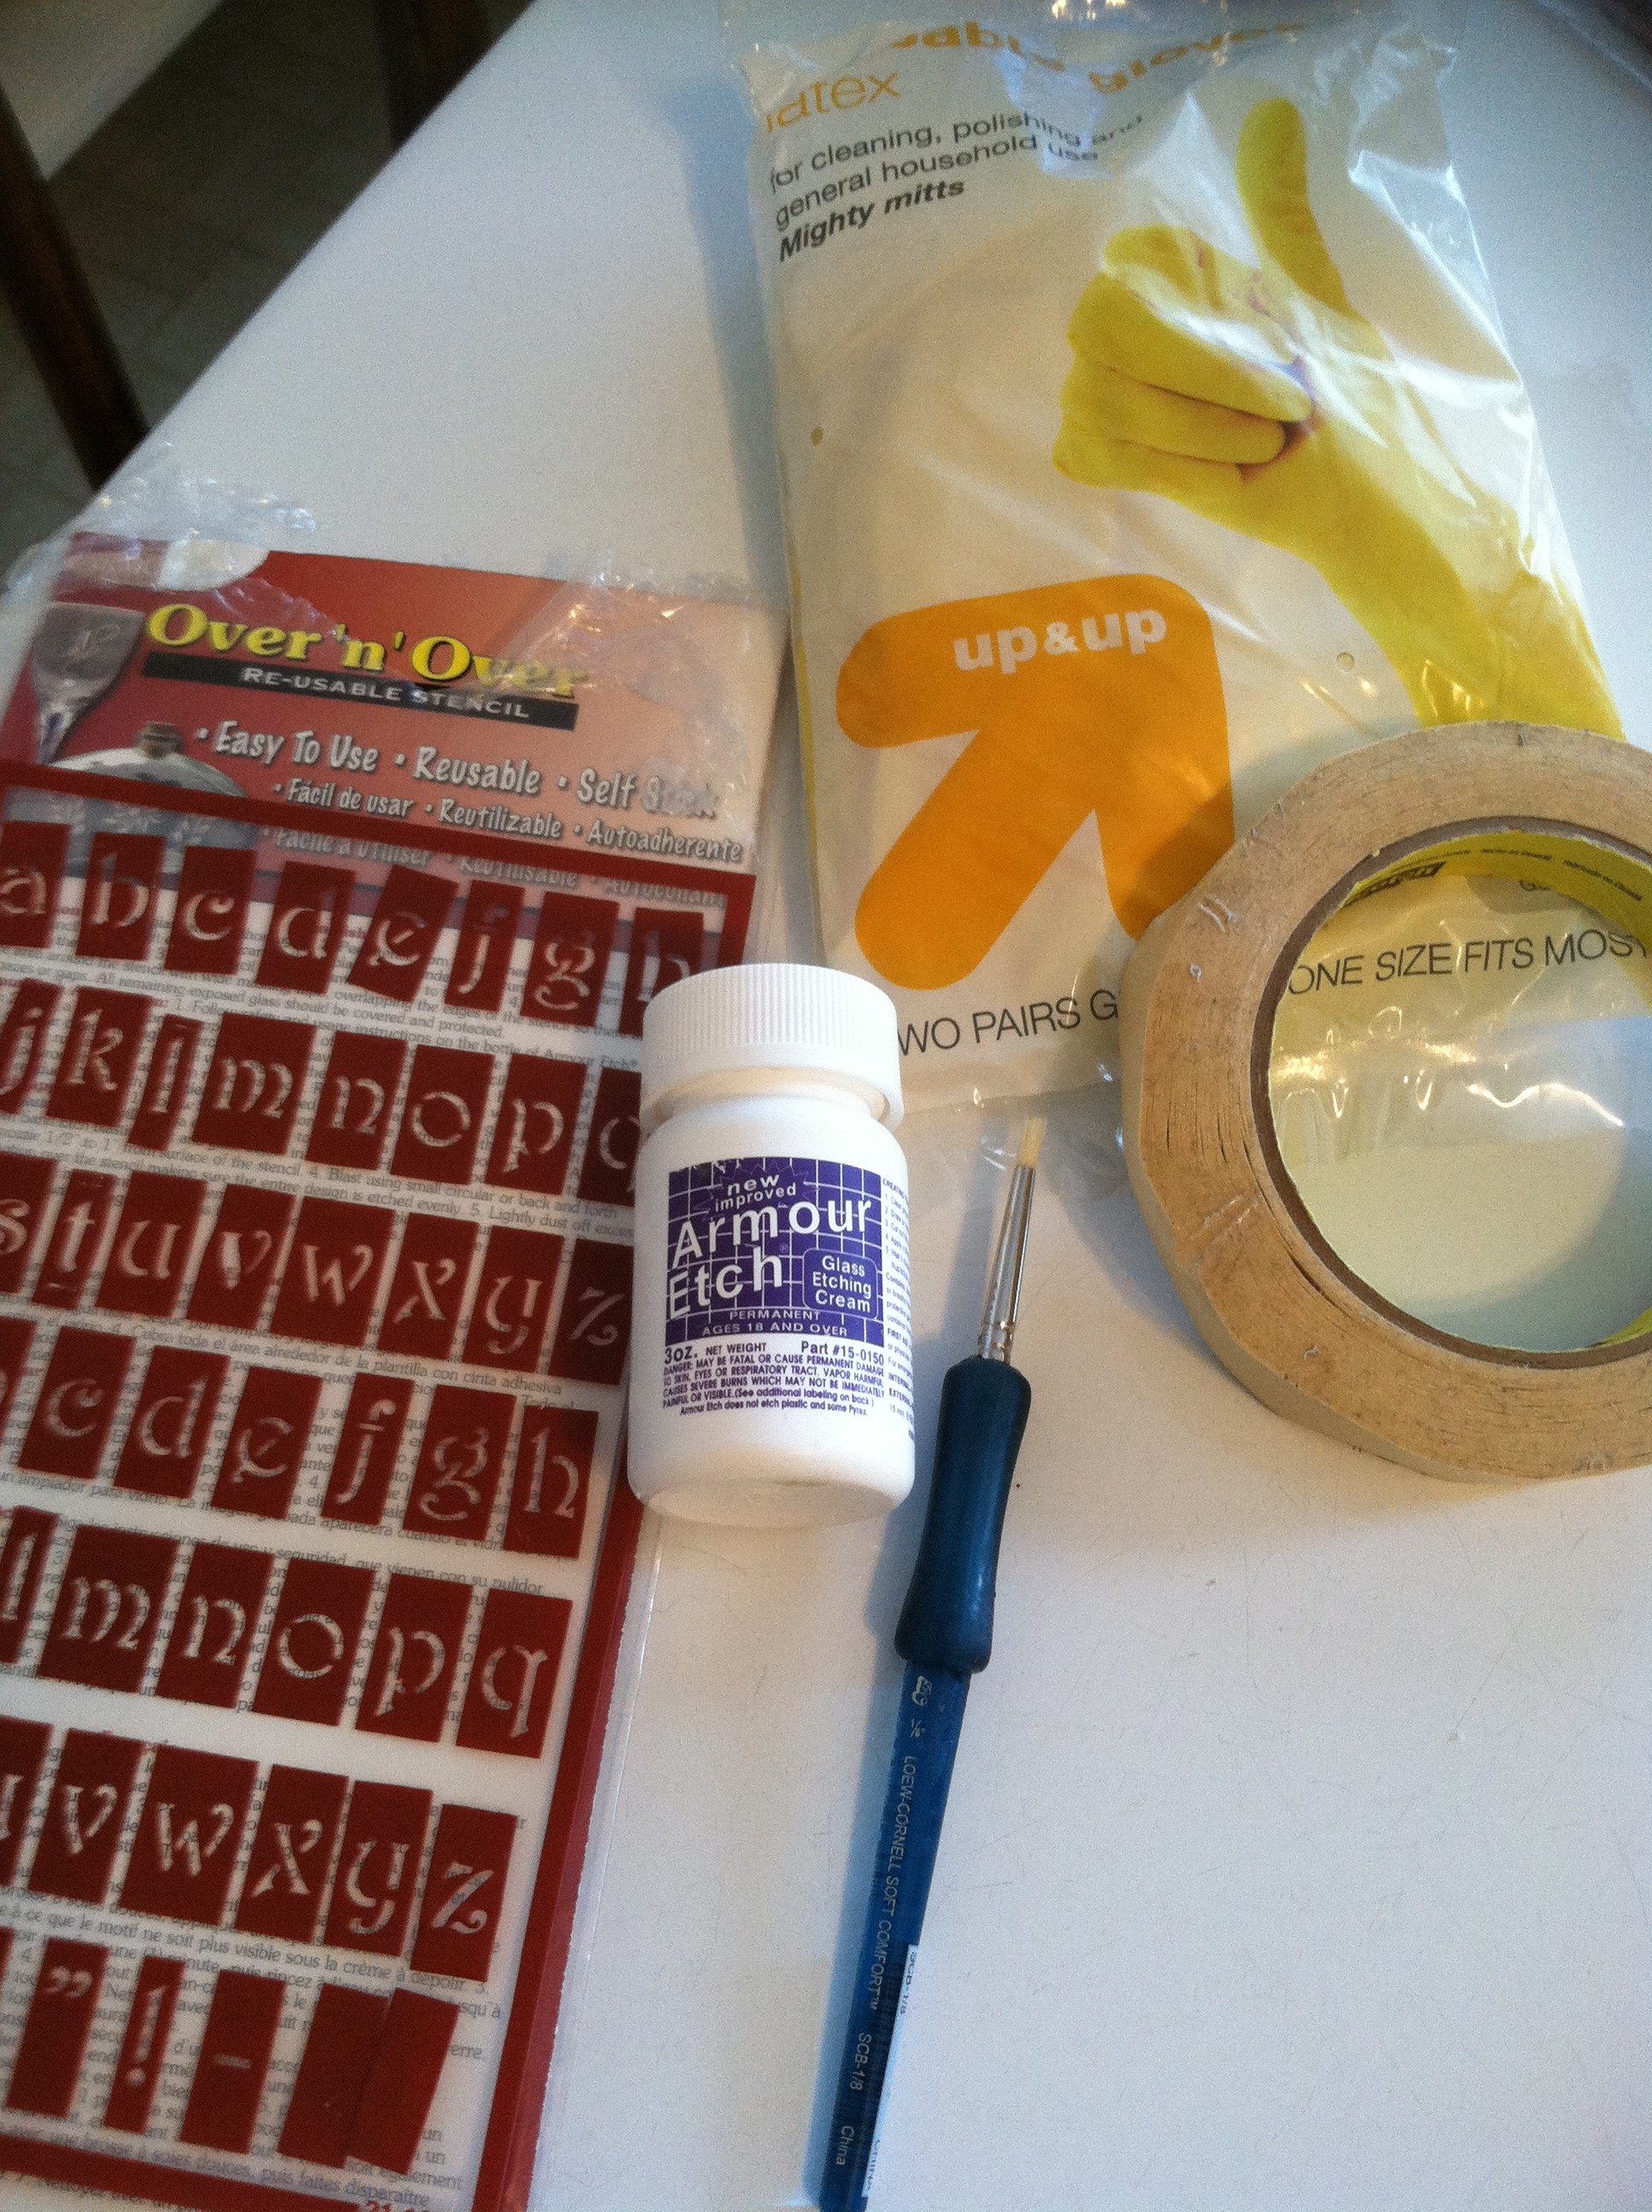
Supplies:
Armour Etch Cream
Stencils (You can make your own or buy these handy-dandy Rub N’ Etch stencils. There is a special glass etching stencil display where you find your cream.)
Rubber gloves
Masking tape
An old paint brush
A glass vase, mug, plate, etc.
Warning: The etching cream bottle is covered with cautionary procedures for using it. You even have to be over the age of 18. With that said, please follow all instructions. Wear protective clothing, do the project outside, if possible, and ONLY work with the cream when your children are sleeping or someone can watch them.
I’ll give you a run down of what to do, but please read all instructions and labels before proceeding. I do suggest practicing this once on something cheap to make sure you have all the instructions down and you know how your stencils are working.
First, you’ll want to make sure the glass surface you are etching is clean.
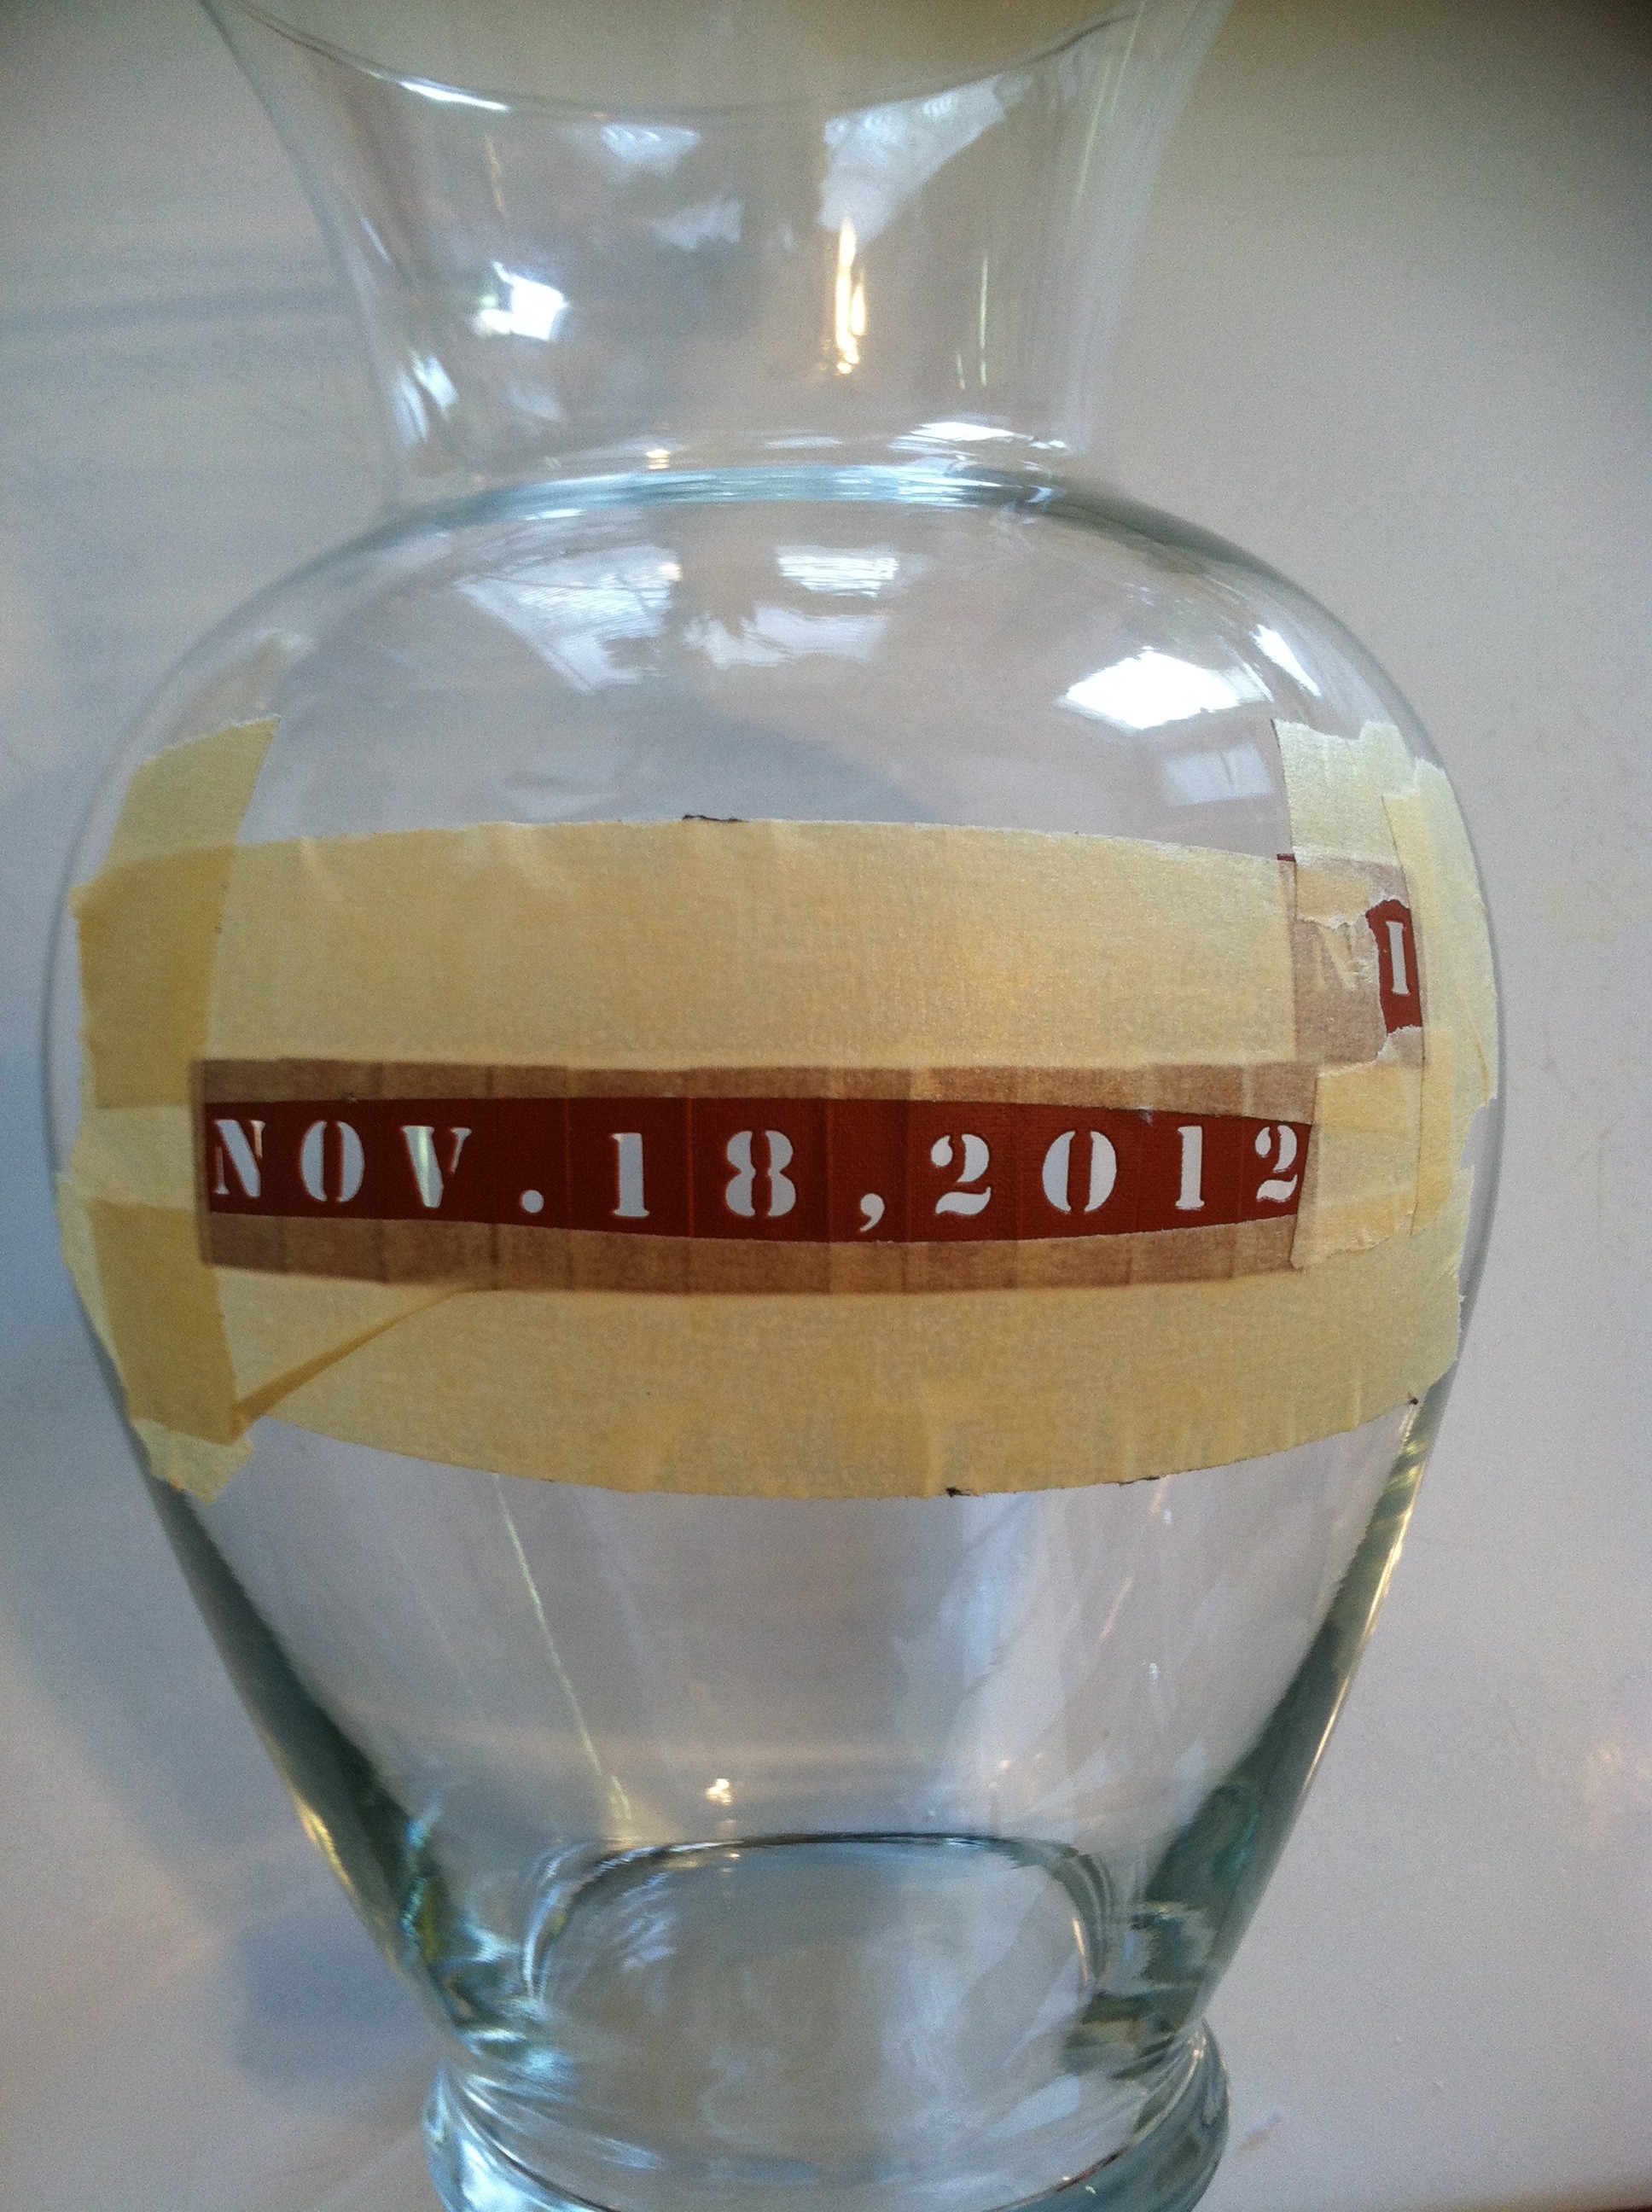
Second, you will want to arrange the stencils. This is my least favorite part. It takes forever to get letters lined up in a neat row. Make sure that if you are placing multiple stencils together that there are no exposed edges or crevices. Apply masking tape all around the stencil(s) to hold it firmly in place.
Third, make sure you have everything you need — glass with taped-on stencils, paint brush, etching cream, and watch/timer (if needed). Also, wear protective clothing and eye gear in case of accidental spills. Using the paintbrush, apply a thick layer of etching cream to the stenciled area, completely covering it. If you’re using the Rub N’ Etch stencils, you only need to let the cream sit for 60 seconds. If you’re using a different kind (the label should tell you), you will need to let it sit for 5 minutes. Make sure to close your bottle of cream as you don’t need to be smelling it all that time!
Fourth, run the glass under warm water, washing all the cream away. Remove stencil and masking tape. You may not see the etch right away, but once you towel dry it, it should appear nicely. Let me tell you, it really feels like magic :).
The best part is the etching is very durable. You can pretty much do whatever the glassware says is possible (dishwasher, microwave, etc.).
I hope this inspires some beautiful handmade gifts! Feel free to share ways that you use glass etching for your crafting.


 My winter project list is growing every day as I think about Christmas gifts! I just finished making a very simple queen sized quilt for our bed because we needed something warmer this winter (tutorial can be found here: